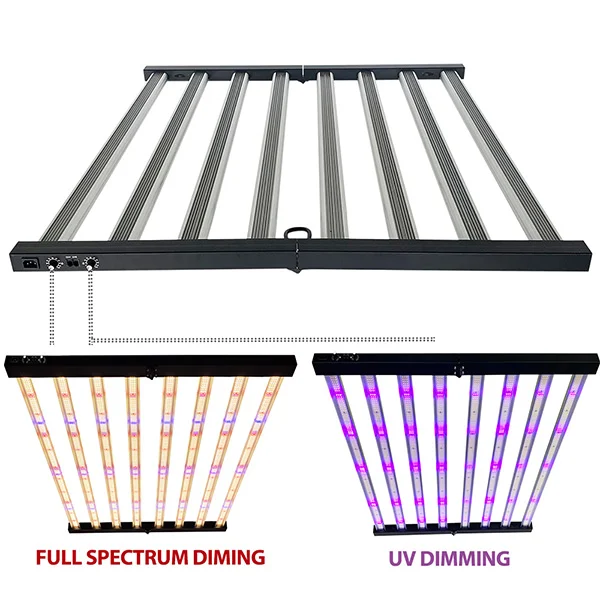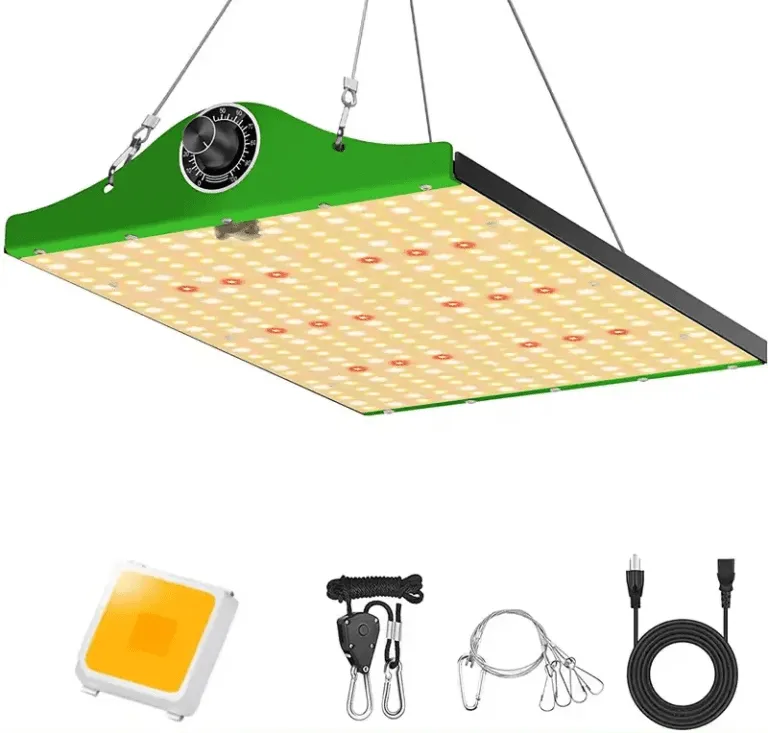

For energy-efficient plant grow lights, measure the canopy and the clearance remaining above its leaves. A quantum panel may fit; distributed bars may suit the space better. Compare electricity use after checking coverage. Ask for the full-fixture photon efficacy measurement. On the PPFD map, locate installation height and compare edge readings with the crop’s required light level. Include dimming in the specification: excess output still costs additional money to run.
Compare Plant-Usable Light, Not Just Electrical Wattage
Check photon efficacy alongside power draw
Put the 100 watt and 200 watt quotations side by side. Which includes a complete-fixture PPF measurement? Without photosynthetic photon flux, the power ratings leave output unknown. For photon efficacy, find the associated test description before ranking either lamp. Was it the assembled fixture or only its diodes? A specification for the diodes alone leaves out the electrical driver. Keep temperature and input power attached to the results. If the conditions differ, mark that difference on the comparison rather than treating the figures as interchangeable measurements.
Read PPFD maps at the intended hanging height
Find the mounting distance on each PPFD map. When distances differ, ask for readings taken at the height your installation permits. PPFD measures plant-usable light reaching a surface; a reading beneath the center therefore cannot stand for the corners. Locate both on the map, using the mounting height available above your plants. Missing corner measurements warrant a request to the supplier. Lumens describe brightness for human vision and cannot fill those gaps in canopy light measurements.
Match the Fixture to the Growing Area
Size the lit footprint before selecting output
Draw the canopy outline inside the tent outline, leaving the gaps between trays visible. Add any shelf obstruction and the clearance above the tallest plants. Now place the supplier’s coverage rectangle over that drawing. Does it cover leaves, or mostly space beyond them? Compare the dimensions on the sketch with the coverage information at your actual available hanging height. Where the quoted height differs, request a map for the available clearance before choosing the fixture.
Avoid excessive light in the center and weak edges
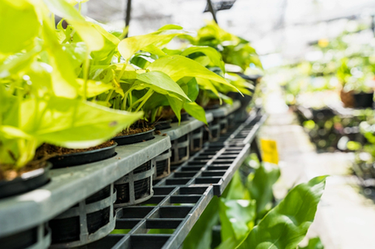
Take PPFD readings beneath the center and around the perimeter before increasing output. A weak edge beside an adequately lit center calls for a look at distribution. Raising the fixture spreads light but reduces intensity with distance; check both positions again after that change or a dimmer adjustment. Inspect leaves and stems alongside readings. Pale foliage, elongated stems, or reduced variegation may point to insufficient light; bleaching or scorching may point to excess. Investigate signs without treating them as a diagnosis.
Choose an LED Format That Fits the Canopy
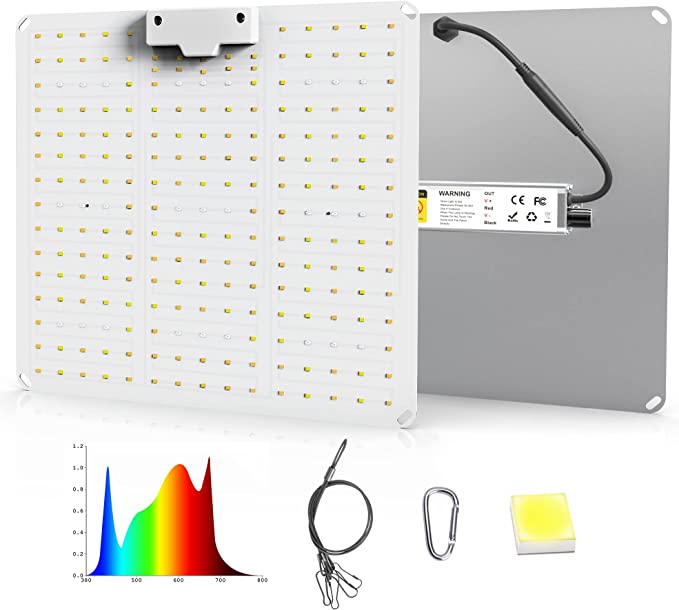
Consider quantum panels for a compact footprint
For a confined growing area, check the LED quantum panel’s measured coverage against the outline of the plants below. Our Samsung LED grow light panels provide a useful format to compare against the available mounting space. Our LED panel family includes several power versions; the 240W entry specifies a dimmer knob and photon efficacy of 2.734 micromoles per joule. That figure applies to the 240W entry. Compare its current full-fixture specification and PPFD map with any alternative before treating it as the more efficient choice for a particular bed.
Consider distributed bars for a wider layout
A bar-style fixture spreads emitters across its frame, which may help align the light source with a wider canopy. Our horticultural LED grow light bar is a dimmable, distributed-emitter option. Its 720W class indicates electrical scale, not a guaranteed canopy result or electricity saving. Check the current PPFD map, installation height, and driver input for the precise fixture. Check where the light falls around the bars: an efficiency advantage requires adequate delivery to the plants, with output directed toward the intended canopy.
Control Light Delivery and Operating Hours
Use dimming to follow the crop’s needs
Keep the canopy PPFD reading beside the dimmer setting when adjusting output for a crop’s needs. Then check the spectrum specified for that fixture. Our wide-spectrum designs generally cover visible wavelengths, with UV-A and far-red in some spectra. The composition can influence plant form; select it with the vegetative or flowering goal in view. That is a reason to specify the spectrum for the crop, rather than assume that “full-spectrum” reproduces all sunlight. The label does not supply the photon efficacy or canopy distribution measurements for an efficiency comparison.
Set a consistent photoperiod and estimate consumption
Write the intended operating hours beside the measured power at the chosen setting. Multiply that input in kilowatts by hours to estimate kilowatt-hours per day. For dimmed operation, substitute measured input for maximum rated power in that consumption calculation. A dimmer position needs a corresponding power reading. Our timed switching equipment can keep the selected photoperiod consistent, although it cannot choose the right schedule for a crop. Choose the crop’s schedule before comparing the resulting daily electricity consumption.
Make a Final Energy-Efficient Grow Light Shortlist
Compare equivalent growing conditions
Give each individually quoted fixture a row, with columns for wall power, PPF, photon efficacy, PPFD map, coverage at your mounting height, dimming range, and warranty terms. An empty measurement cell identifies a question for the supplier before ordering. The TIDESTAR grow light product range offers fixture formats to review against the planted area. Use equivalent light levels and operating hours for the cost comparison. Otherwise, an apparently lower running cost may simply describe a darker canopy. Match the specification to the exact fixture being quoted.
Test the installation after purchase
Mark the meter positions used for center and perimeter PPFD readings so they can be found again. Record the fixture’s location over the bed, its height above the leaves, and the dimmer position. Keep the measured electrical input beside those readings. Return the meter to marked positions after moving or dimming the fixture. Did the edge reading improve? What happened beneath the center? Compare sets before judging the effect on plant light delivery.
Preguntas frecuentes
Q: What makes a plant grow light energy efficient?
A: Put the complete fixture’s electrical input beside its photon efficacy, then inspect the PPFD map. Does the mapped output reach the canopy edges? The light delivered across the planted area matters.
Q: Are LED grow lights more energy efficient than traditional grow lights?
A: Compare the actual fixtures. An LED label by itself gives no measured advantage. Request PPF per joule for each candidate, then check whether both coverage maps describe the same canopy dimensions and hanging height.
Q: Is a higher wattage grow light better for energy efficiency?
A: A wattage rating answers the electrical input question. It leaves efficiency unresolved. Compare useful photon output for that input, then confirm that the resulting light distribution covers the crop.
Q: How can a dimmable grow light save electricity?
A: Record canopy PPFD and electrical input before reducing the setting. Repeat both measurements afterward. Where the crop needs less light, dimming can reduce consumption; confirm that the remaining output still meets that need.
Q: How many hours should energy-efficient plant grow lights run each day?
A: Use the crop and growth stage to establish a suitable photoperiod, accounting for available daylight. Before extending operation, identify the light requirement those hours will meet; the additional time consumes electricity.